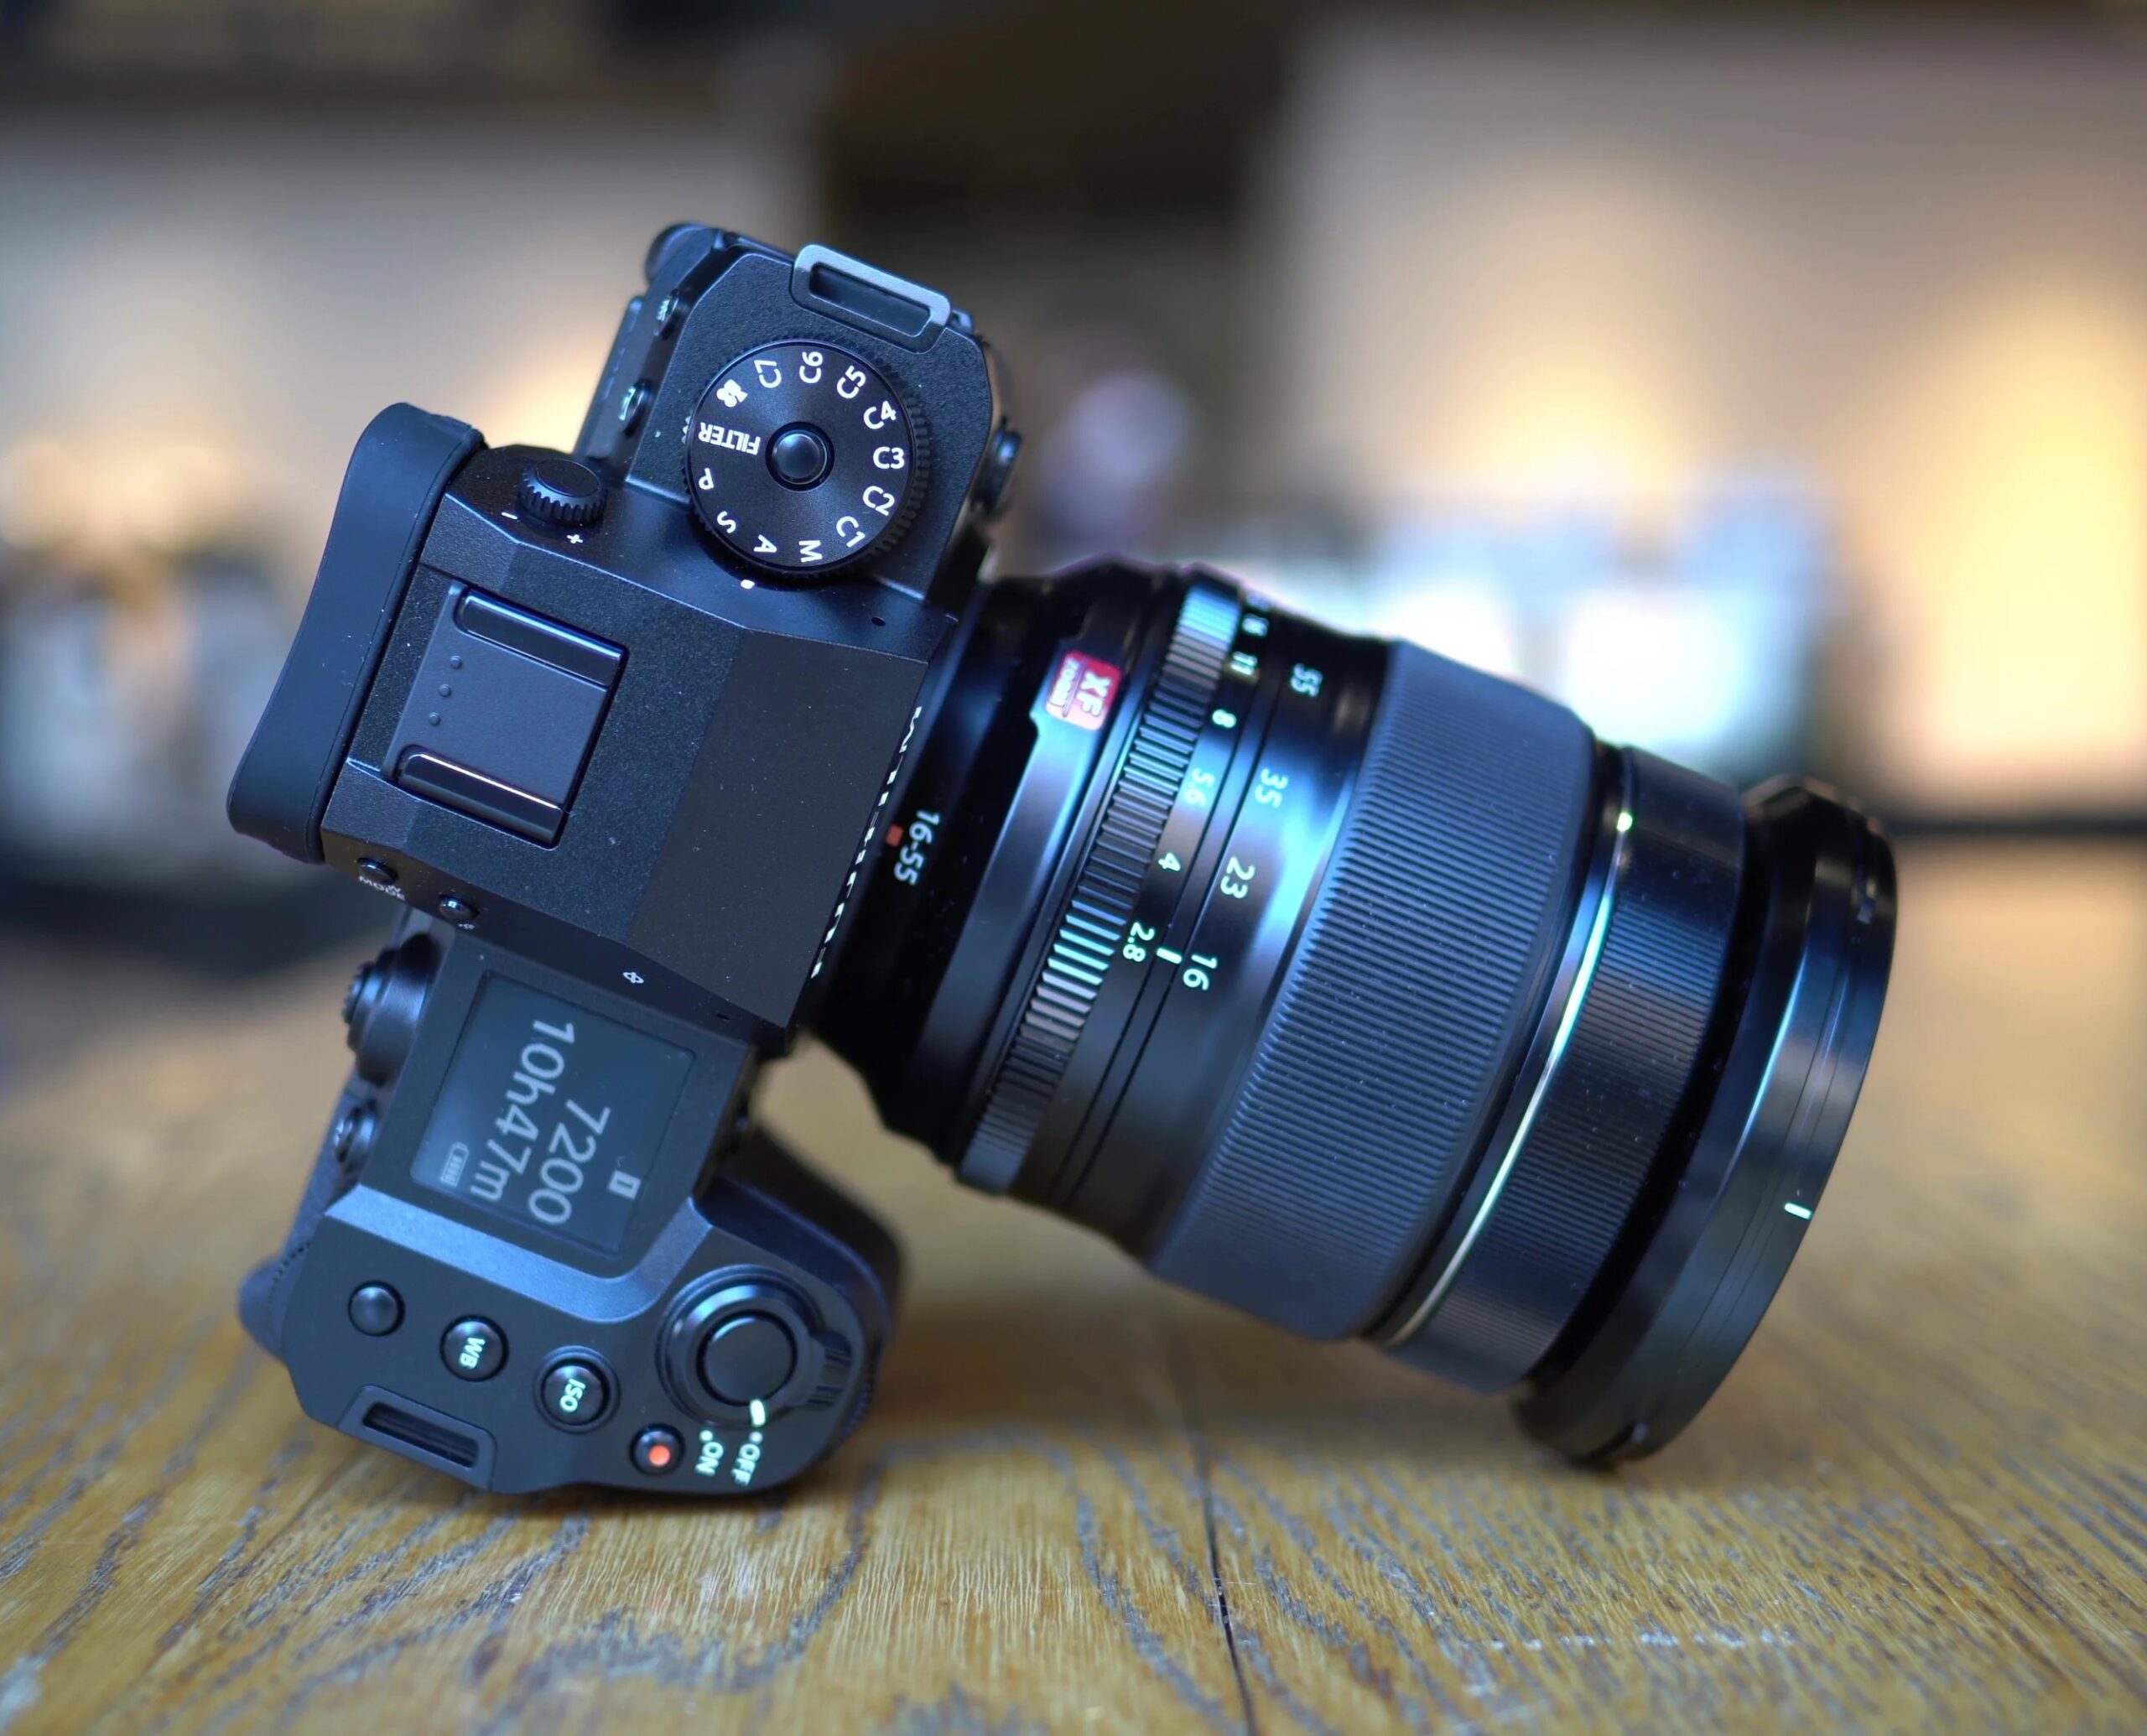
As a finance blogger, sharing insights through videos has become an essential part of my content strategy. Upgrading my video quality has always been on my mind, and finally, I took the plunge and got a Fujifilm X-H2—a powerhouse camera known for its 8K recording, diverse frame rates, and professional-grade codecs. Here’s a walkthrough of my journey to get it YouTube-ready and some of the setup options I considered.
Step 1: Unboxing and First Impressions
The X-H2 feels well-built and solid. Fujifilm has designed this camera to be highly customizable, which I quickly realized as I explored its settings. I could already see that this camera would offer me both flexibility and quality but would also require a good deal of preparation and customization.
Step 2: Choosing the Right Resolution and Frame Rate
Since my videos are a mix of face-to-camera discussions, tutorials, and screen overlays, I wanted high quality but manageable file sizes. Here’s what I went through while deciding:
- 4K UHD at 30 fps: This is a sweet spot for YouTube. The 4K quality is future-proof, ensuring the videos look great on any screen size. Plus, YouTube prioritizes higher resolution uploads, meaning the playback quality will often appear better than 1080p, even if people aren’t watching in 4K.
- 1080p Full HD at 30 fps: I considered this for lighter projects, especially if I need to shoot and upload quickly. For YouTube, 1080p still looks sharp, especially when viewed on mobile devices. This could be a go-to for live streaming or impromptu videos.
Step 3: Selecting the Right Codec
When it came to codecs, I wanted a balance between quality and file size:
- H.264 (MPEG-4 AVC): This codec is the most compatible across platforms and a great choice for YouTube. It offers solid quality at manageable file sizes, making it easier to upload without a lengthy waiting period.
- H.265 (HEVC): This codec is more compressed than H.264 and is great for when I want high-quality footage without massive files. However, editing H.265 files requires more computer power, so I’m saving this for special projects where I need the best quality.
Step 4: Setting Up for Color and Dynamic Range
Color quality is key to keeping my videos engaging, so I explored two main color profiles:
- Standard Profile: For quick turnaround content, this profile doesn’t require much tweaking, and colors look natural right out of the camera. This is a great choice for beginner users who don’t want to worry about complex color grading.
- F-Log2: Fujifilm’s F-Log2 profile is amazing for capturing dynamic range, which is essential if you plan to edit the video extensively in post-production. For me, this option allows flexibility in color grading, especially for videos shot in varied lighting.
Step 5: Experimenting with Slow Motion
For B-roll shots or for highlighting specific points visually, slow motion is a great tool. I tested the X-H2’s capabilities here:
- 4K at 60 fps: This allows for subtle slow-motion effects while keeping a high resolution. It’s a nice touch for emphasizing certain parts of my videos.
- 1080p at 240 fps: For ultra-slow motion, the X-H2 can record in 1080p at 240 fps. I plan to use this occasionally to add a dynamic look, but since it’s in 1080p, it’s best suited for clips that don’t require high detail.
Step 6: Setting up Audio
Clear audio is critical for YouTube, so I also connected an external microphone. Fujifilm offers various audio settings, and I found that pairing the X-H2 with a shotgun mic captures my voice cleanly while reducing ambient noise.
Final Thoughts
Getting the Fujifilm X-H2 ready for YouTube has been an exciting journey. The camera’s robust feature set gives it the power to deliver top-tier quality, and I’m thrilled to use it for my future finance content. If you’re a creator considering a similar camera, think about what settings make sense for your content. With the right setup, the Fujifilm X-H2 can make a noticeable difference in video quality, helping your content stand out.
The experience of setting up this camera reminded me that preparation can significantly enhance the viewer experience—just as in finance, the right tools and settings can lead to optimal results.
Related Articles:


